
This guide shows you how to install and use the Jbi4EJB netbeans plugin. To see the plugin in action, watch the demo.
How to create a Jbi4Ejb WSDL from an EAR file
With the Jbi4EJB Netbeans plugin, you can create a Jbi4Ejb extended WSDL file starting from an J2EE Enterprise Application file (EAR).
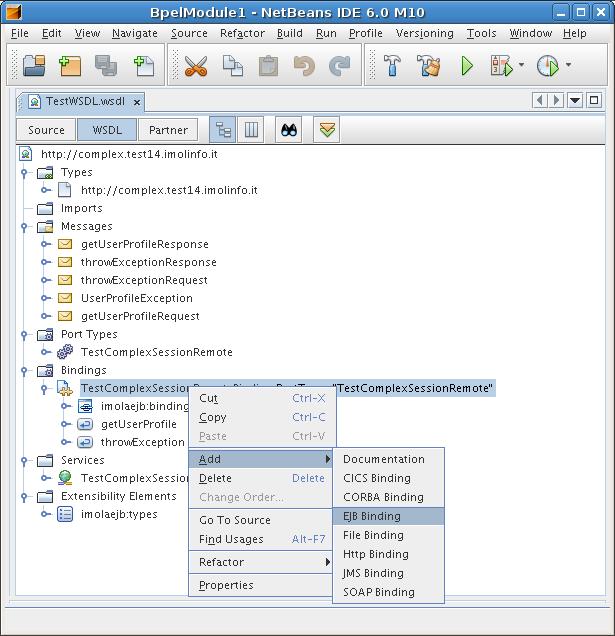
In addition, you can also modify a WSDL file adding a binding to the Jbi4Ejb component, so the WSDL will be suitable to be deployed inside a JBI service unit. This feature is available using the NetBeans WSDL editor.
The plugin is tested with NetBeans IDE 5.5 and NetBeans IDE 6 beta, with Enterprise Pack installed.
To install the plugin, follow these steps:
After these operations, you should be able to see the Jbi4Ejb plugins installed

After the plugin installation, you are ready to create a new WSDL from an EAR file. You can use this WSDL to integrate the component in Composite Applications. For example, you can add the servant as a partner-link in a BPEL process.
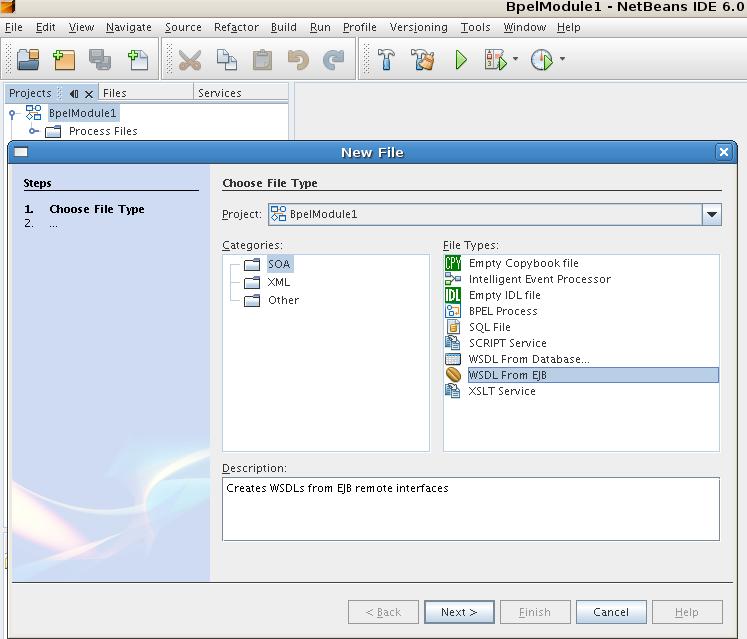
Select your project, right-click and select New -> Other

Select the SOA folder and then the WSDL From EJB File type
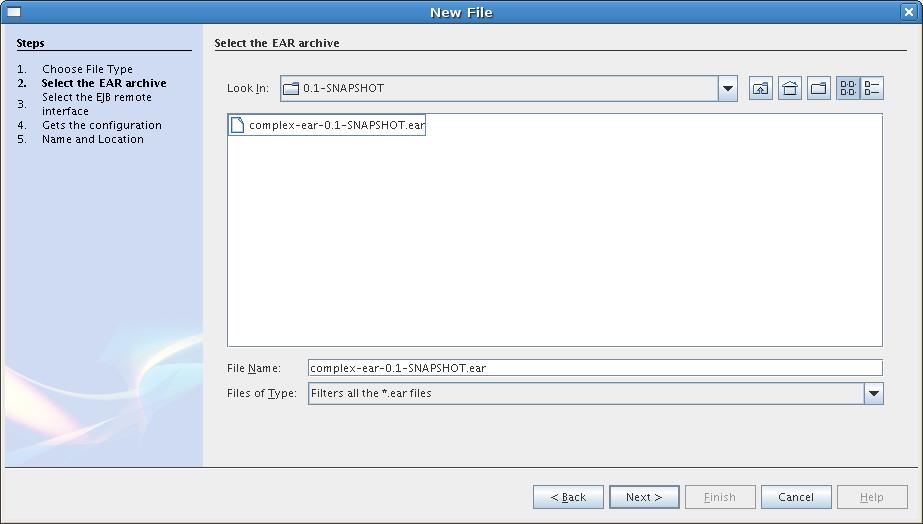
Then, the wizard asks you for the ear file containing the EJB
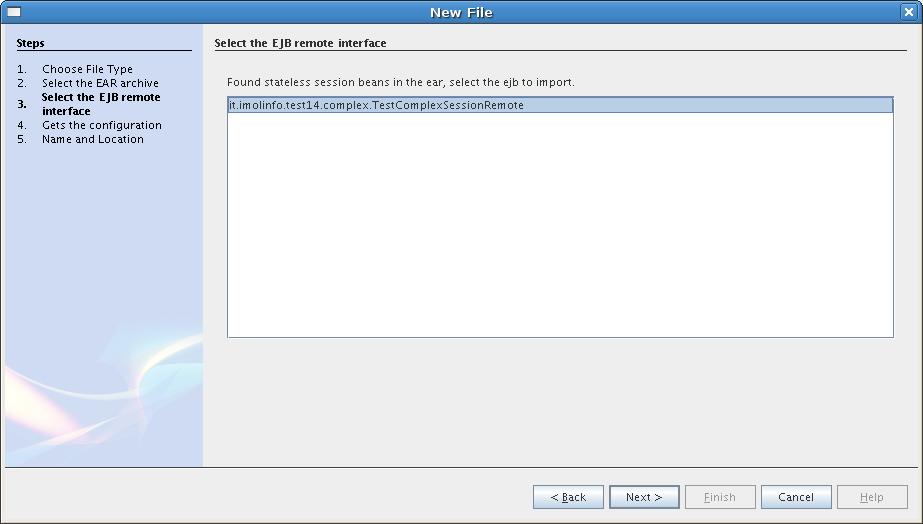
The Wizard extracts the Session Stateless EJB remote interfaces and asks for the interface to use to create the WSDL.
The next step asks for the configuration parameters nedded to connect with the EJB:
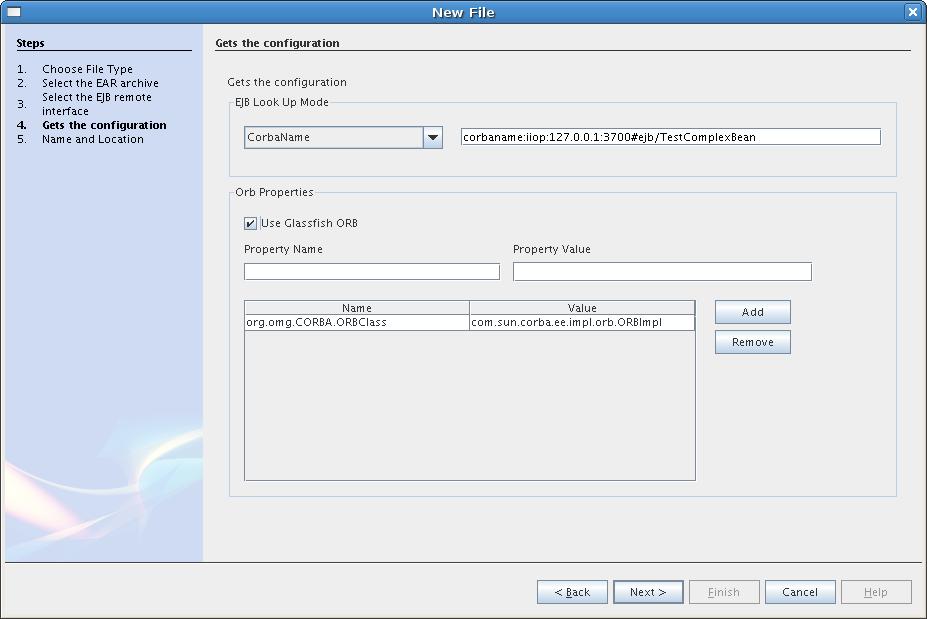
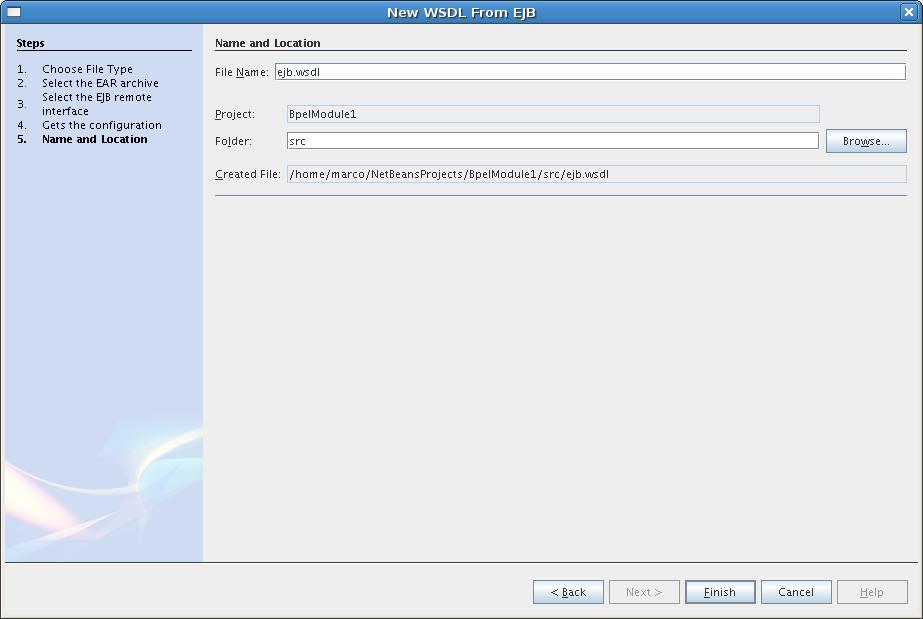
In the last step, the wizard asks for the file name and position for the new WSDL created
Now, you are ready to fully integrate the ejb in OpenESB using the Netbeans tools. For example, you can use it in a BPEL orchestration exposed with SOAP.

The WSDL can be modified using the Netbeans WSDL editor. See the WSDL Extensions guide for the meaning of the extensions.
